
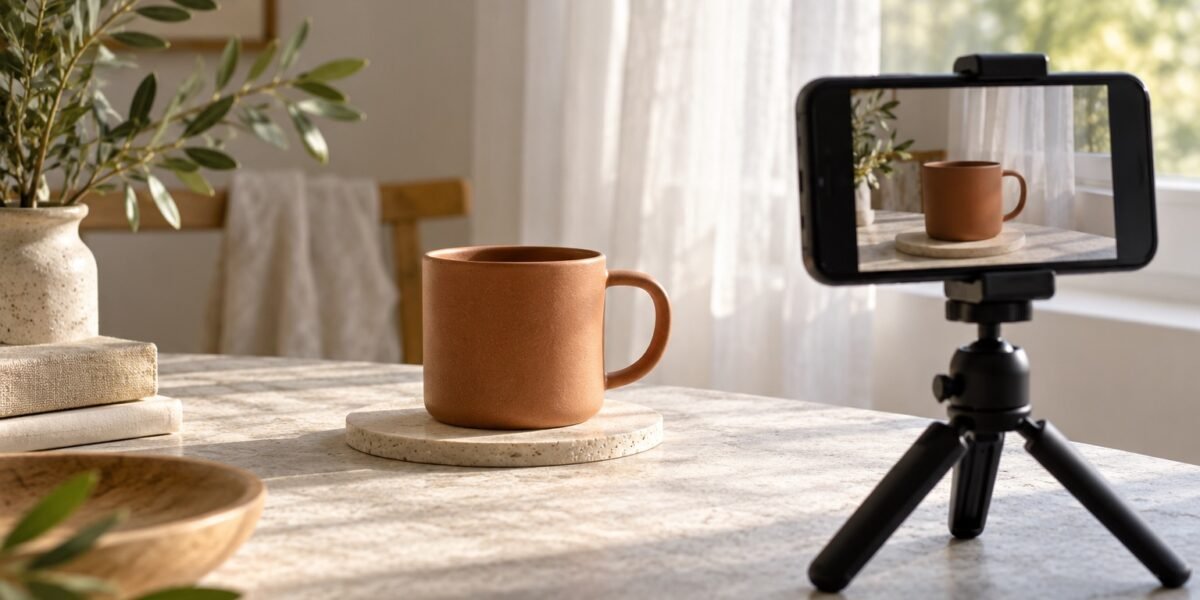
A mug, a handmade object, or an item you want to show a friend does not need an elaborate set to be photographed clearly. Start with a window, a stable surface, and a background that lets the object stand out. The aim is a useful picture that shows its shape and condition.
Use an ordinary, nonreflective object for your first attempt. Shiny metal and clear glass introduce reflections that can make a simple practice session harder to judge. You can return to those subjects once you know what moving the light does.
Clear the frame before adjusting the camera
Set the object on a steady table and remove nearby items that do not help explain it. Look through the camera rather than judging only with your eyes: a wall edge, cord, or bright package may be more distracting inside the small frame.
Try a plain sheet of paper or an uncluttered section of tabletop as the background. Leave enough space around the subject to adjust the crop later. If the photograph is for a listing, show the actual item rather than adding props that could imply accessories are included.
Compare the light from two positions
Place the setup near the window and take a test picture with the light coming from one side. Then turn the object slightly or move the setup to compare the shadows. Change one thing at a time so the second photograph tells you what the adjustment did.
If direct sun creates a hard patch of light, try a different time or a translucent curtain. Adobe’s guide to diffused light describes soft light for still-life subjects and using a translucent curtain to soften window light. Keep your setup simple enough to move rather than buying equipment for the first attempt.
Keep the camera steady and inspect the result
Support your phone or camera securely, keeping it away from the edge of the table. A stable position makes it easier to compare photographs. Check your device’s own controls for focusing on the subject; the exact gesture or menu depends on the camera app.
After taking a picture, enlarge it and inspect the detail that matters. Can you see the handle, texture, or small mark you wanted to show? If that area is soft, try focusing again and check for movement. Do not assume a photo is sharp just because it looks good as a tiny preview.
Take a small set of useful views
Make one overall image and a few views that answer different questions. For a ceramic mug, that could mean the full shape, the handle, and the base. A detail photo should add information rather than repeat the same view with a slightly tighter crop.
Keep the background and camera position reasonably consistent while you work. If clouds change the light, take another overall shot before finishing the set. For a casual photograph, consistency matters more than following a fixed number of angles or an exact camera setting copied from someone else’s room.
Choose honestly and keep the original
Select the photo that makes the subject easiest to understand. A modest crop can remove empty space, but do not edit away wear or change a color when those details matter to the viewer. Save an original before experimenting with adjustments.
Use a clear filename for the selected version so it is easy to find again. The cover of this guide is an AI-generated editorial illustration of a setup, not a photograph from a hands-on camera test.
Emma · Daycraftly
A good deal is more than a crossed-out price. I’m all about clever finds, useful products, and checking what you actually get for your money. From AliExpress discoveries to everyday essentials, my focus is on the details behind the offer: materials, features, seller information, and return terms. Think less impulse-buy clutter and more things you’ll be glad you found.
Join the conversation
Share a useful tip or ask a question. Comments are reviewed before publication. Your email address will not be displayed.
Leave a Reply